Readers who found hi3d while looking for a printable figurine workflow will find a practical guide to choosing a Meshy model, preparing references, and checking exports before printing.
The sharpest-looking render is not necessarily the easiest figurine to print. I start with a reference that shows the whole subject, choose detail for the intended print size, and check the exported mesh in a slicer before committing material.

The short version
- Give Meshy a clear view of one subject, with feet and limbs visible. Add other angles when the back or pose matters.
- Choose geometry detail for the size you will print. Fine surface detail cannot rescue a hidden hand or an unstable stance.
- Export STL for a single-color print or inspect a 3MF when you need color and parts. Check scale, thin features, supports and the sliced preview.
- Meshy has its own printing workflow. If a file still has mesh defects, repair the exported file separately rather than assuming an attractive render is printable.
1. Start with a reference that describes a solid object
For a figurine, I want a full-body image taken from a slight angle. I look for visible feet, arms that do not disappear into the torso, and a clear outline around the hair and clothing. A plain background helps separate the subject from everything behind it. Meshy accepts text, one image, or up to 4 views of the same object; the Meshy AI model overview explains its versions and printing-oriented features if you need to choose a generation route.
A single photograph cannot show the back of a coat or the far side of a face. The generator must infer those surfaces. If that hidden geometry matters—perhaps the figurine has a distinctive backpack—supply another view rather than asking for more mesh detail from the same front-facing picture. Keep all views consistent: the same subject, outfit and pose are more useful than unrelated flattering photographs.
I also judge the pose as a physical print. An arm held well away from the body may need extensive support; an ankle carrying the whole figure may be fragile. A compact pose with a readable silhouette is usually a better first attempt than one with tiny isolated features. Small lettering and logos are poor features to rely on, even if they look clear in the source image.

The Meshy overview shows the available model generations, geometry options and printing features to consider before generating.
2. Pick detail for the figurine you intend to make
Meshy 7 added an Ultra mode for finer detail, while Meshy 7.1 added a 4K geometry resolution setting and improved fidelity to the reference image. Those options are worth considering for a larger display figure or a detailed surface. They do not replace a good reference: extra geometry can describe a clothing fold, but it cannot reveal a hand hidden behind someone’s body.
Think about the final size before choosing the most detailed output. On a small tabletop figure, the face may read mainly as a shape. At a larger desk-figure size, hair and clothing folds become more visible. Features that are thinner than your printer can reproduce may disappear in slicing or break during cleanup, regardless of how detailed the digital mesh looks.
Meshy also offers remeshing controls through its API, with a target from 100 to 300,000 faces and a default of 30,000. Face count is not a print-quality score. I would rather have enough triangles to preserve the silhouette and broad facial forms than a huge mesh devoted to bumps the printer cannot reproduce. If you are comparing generation tools because you need to direct a particular shape before making the figurine, the Meshy vs Rodin comparison covers Rodin’s shape-guidance and preview controls alongside Meshy’s printing options.
3. Inspect the model as geometry, not just a render
Rotate the generated model before exporting. Check the back of the head, the space between arms and torso, the underside of the chin, and where the feet meet the ground. These are places where a pleasing front view can hide awkward geometry.
A printable mesh should enclose a solid volume. A manifold surface has edges joined in a way that defines a clear inside and outside. Holes, stray surfaces and overlapping shells can leave a slicer unsure what should become solid plastic or cured resin. Meshy makes watertight, manifold output a design goal and offers printing tools, including auto-splitting, but I still check the particular result I plan to print.
Look at the stance too. A figure balanced on narrow ankles may be mathematically valid yet physically vulnerable. A base gives the feet a wider footprint and provides a more dependable point of contact with the build plate. Decide whether the pose needs one before you spend time tuning fine details.
4. Export, then inspect the slice
Choose the file for the next task, not for the richest-looking preview. STL describes the mesh without units or color, making it a straightforward choice for a single-color figurine you plan to paint. Meshy also exports 3MF. That format can store units, multiple objects and color or material information, but you should inspect what your particular export contains after opening it in the slicer.
The best file format for 3D printing guide explains why 3MF is generally a useful file to share and STL remains a dependable fallback. The distinction matters most when scale or color is involved: an STL cannot tell a slicer which unit its coordinates represent, and it cannot assign filament colors. If a figure imports at an implausible size, correct the dimensions before doing anything else.
Next, use the slicer preview as a diagnostic tool:
- Check the first layers — Do the feet or base make stable contact with the plate?
- Follow thin parts upward — Do ankles, fingers, accessories and hair strands remain present throughout the slice?
- Examine supports — Can they reach the undersides of arms and chin without ruining the face during removal?
- Look for missing regions — A surface visible in the model viewer but absent from the slice needs investigation before printing.
For a figurine, I try to keep support contact away from the face. Tree or organic supports can help reach arms and chin. On FDM, a display figure can start with three walls and 10 to 15% infill; on resin, a figure over 60 mm may benefit from hollowing and drain holes in the base. These are starting points, not substitutes for checking the model and your printer’s settings.
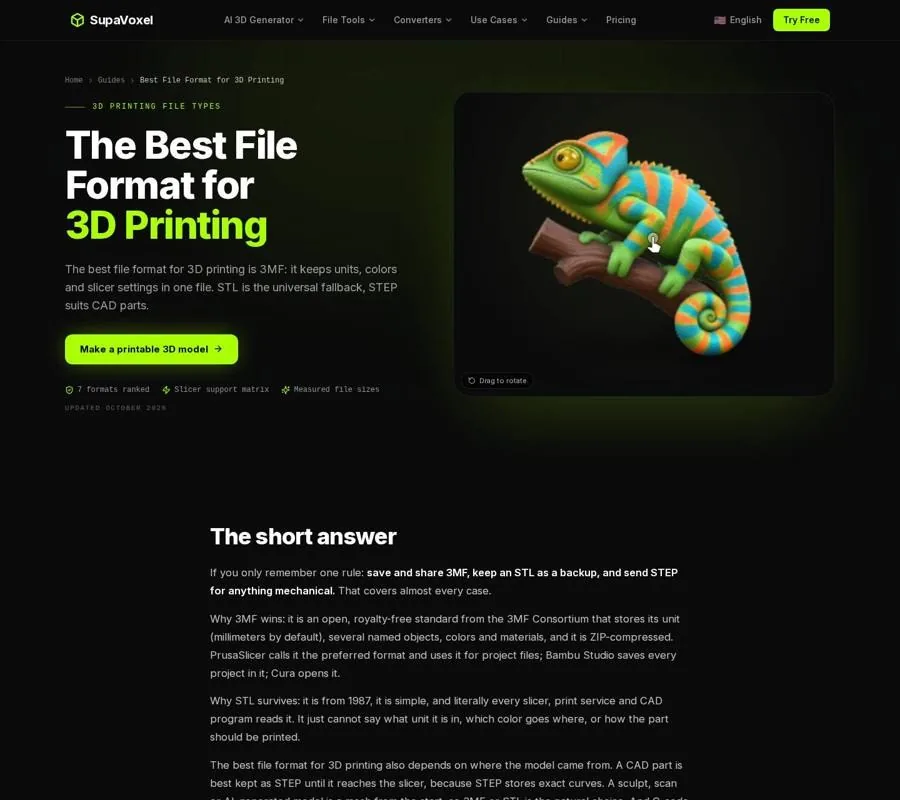
The format guide compares what STL, 3MF and other files retain when a model moves into a slicer.
5. Repair defects without confusing the workflows
Meshy’s printing workflow is the first place to assess a Meshy-generated figure. If the exported STL still has holes or other mesh defects, treat repair as a separate step and slice the repaired result again. Repair can close a broken surface; it cannot recover the real shape of an arm that the source photograph hid.
The standalone browser STL repair tool on 3D Studio is a separate option for files from elsewhere, including an exported Meshy file, and is free to use. That is different from 3D Studio’s in-studio print-prep features for models generated there. Its in-studio repair, stand base, plane cuts with pins and multi-color 3MF are included in every paid plan from $25 a year. Do not assume those studio controls are part of Meshy’s export process.
If your real starting point is one photo and your goal is specifically a standing print, the figurine from photo workflow describes 3D Studio’s separate route through generation, repair, a stand base and export. It is an alternative workflow, not a repair setting inside Meshy. Whichever route you choose, the final test is the same: open the file at its intended size, inspect the sliced layers, and fix what the slicer actually shows.
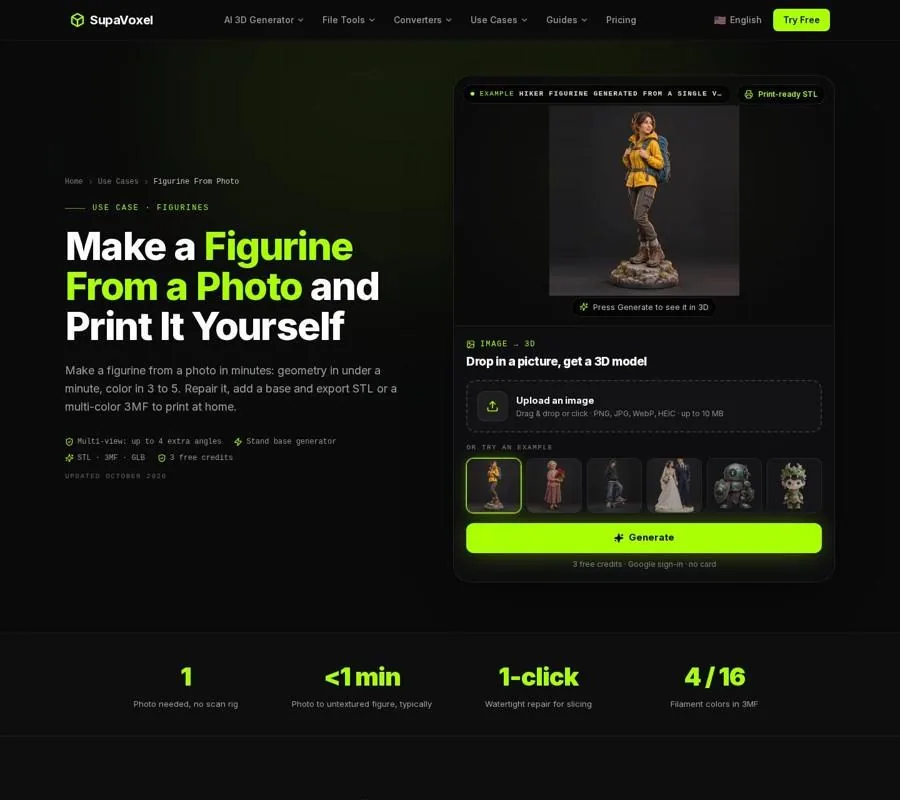
The figurine page shows the separate photo-to-print workflow, including preparation for a standing figure.
FAQ
Is Meshy’s watertight output guaranteed to print well?
No. A closed mesh can still have thin ankles, difficult overhangs or an unstable stance. Inspect the exported file and its sliced preview before printing.
Should I export a figurine as STL or 3MF?
Use STL for a single-color mesh when broad compatibility matters. Consider 3MF when you need its unit and color capabilities, then verify what the slicer actually imports.
Will a higher geometry setting improve a small figurine?
Only if the added detail survives at the printed size. Prioritize a clear reference, a sound silhouette and printable features before increasing mesh detail.